Illustrator:
For this individual project we used the Illustrator software. This software is very easy to use and it is my favorite. In this software you can design anything you'd like. Having black lines means something is going to be engraved, while having red lines means something will be cutout. I was able to express myself through this software, from my designs on my notepad to my water bottle.
Notebook Design & Printing
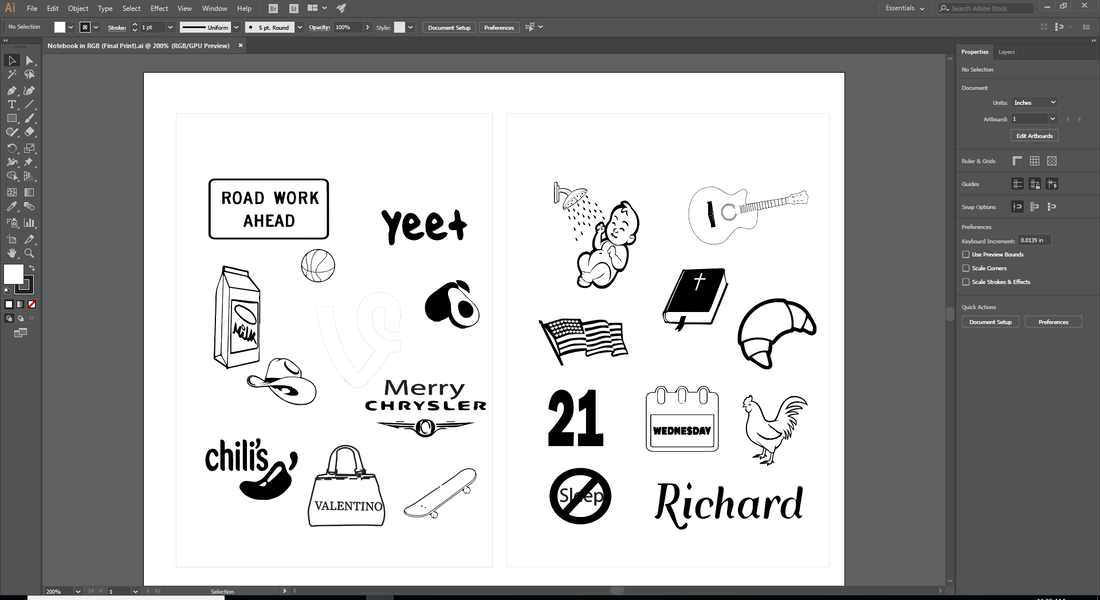
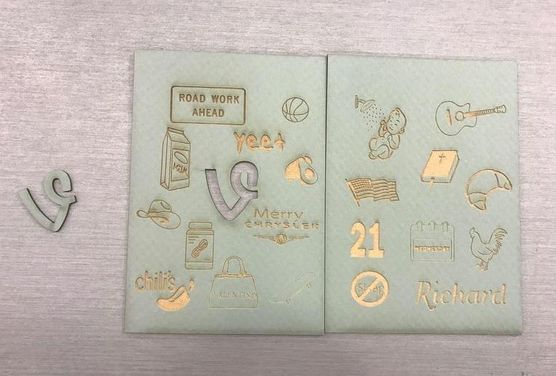
1) I designed this notepad on Illustrator. The symbols reresent some well-known vines. In the middle of the cover, the vine symbol is engraved.
|
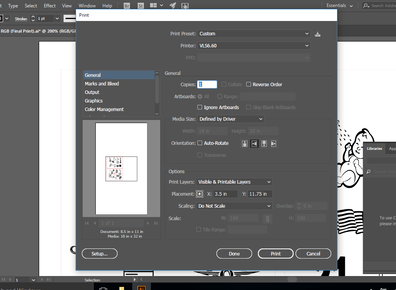
2) Make sure you print to the laser and click on setup, to make sure the setting are correct.
|
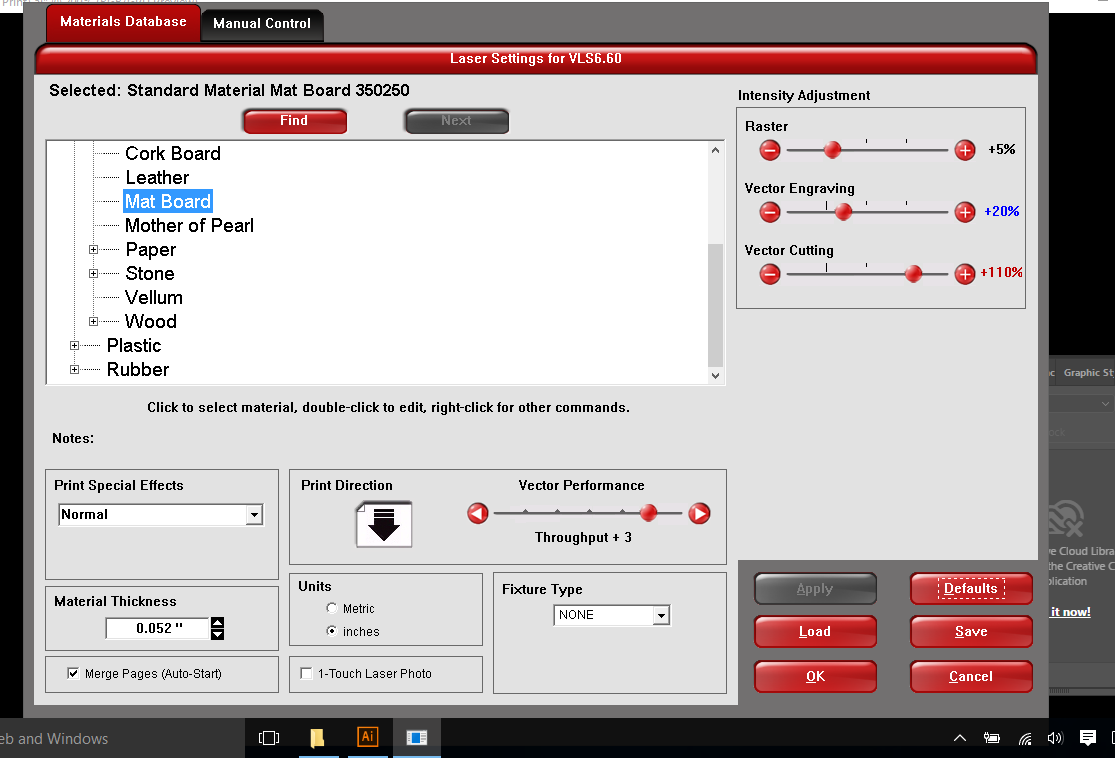
3) The material I used was Mat Board so you need to click the right material and measure the thickness of it.
|
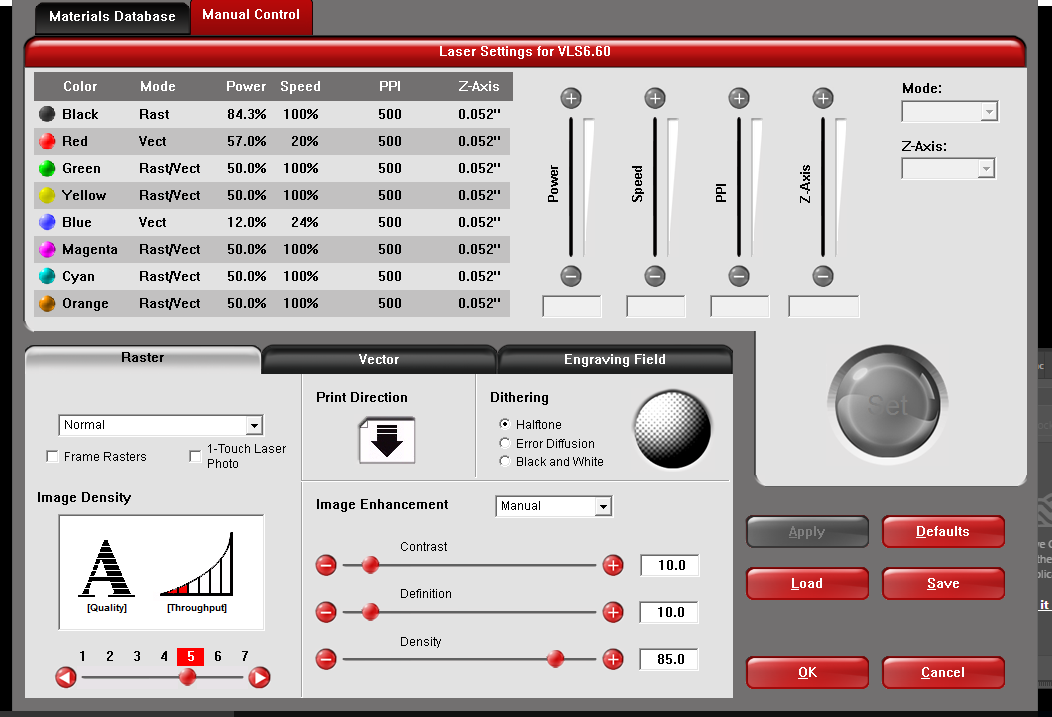
4) Again I made sure all the setting were correct for printing on mat board.
|
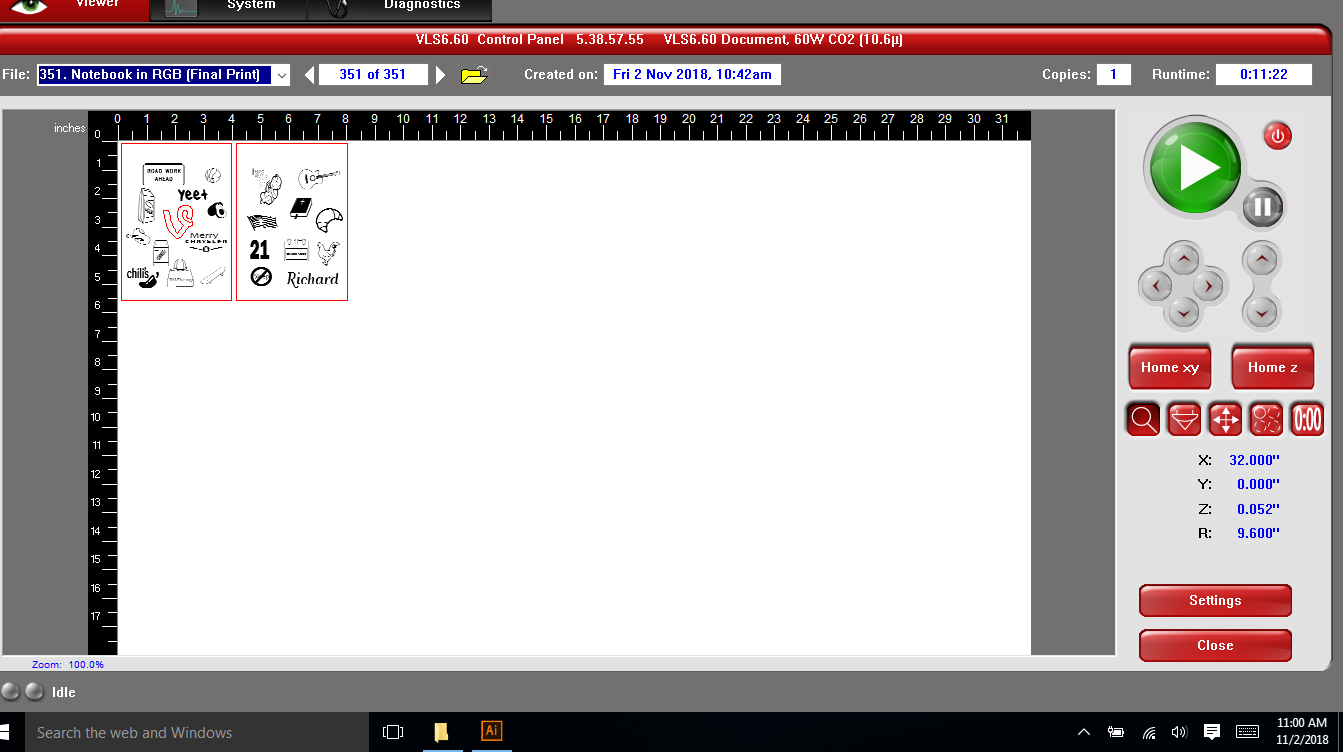
5) This is when I inserted my notepad into CPU and moved it to the correct corners. I made sure that my whole notebook would fit on the material.
|
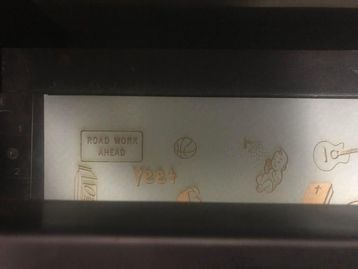
6) This is the laser engraving some symbols. The whole engraving process took about 10 minutes.
|
Final Product:
|
|
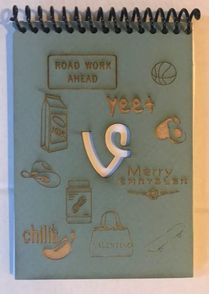
This is the final product, on the notepad are symbols that represent different vines.
Final Notepad Thoughts:
I am happy with my notebook results. Through designing and producing this, I learned how to engrave/cutout designs on different materials. Again, I was able to express my creativity and interests through this project. I was able to pick the color of my mat board too. I would do this project again as it is usable and practical.
Laser 3D Item
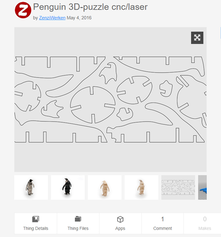
1) I found the penguin on Thingverse and this was the template I was going to cut out.
|
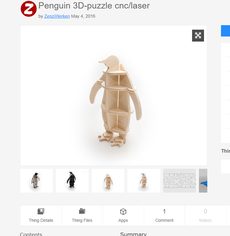
2) This is what the final product should look like.
|

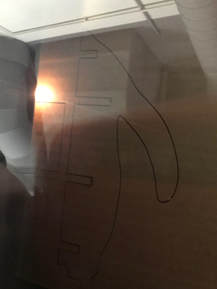
3) I inserted the cutout in illustrator but failed to understand that the slots need to be the size of the cardboard.
|
4) This was one piece getting cut out
|
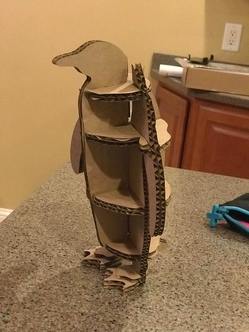
Final Product
Final Results:
The penguin did fit together but it was not a perfect fit. The slots from the thingverse were not the size of the cardboard. Also not all the pieces fit on the laser bed at first. I had to print each piece twice because two thicknesses of the cardboard filled the slot.
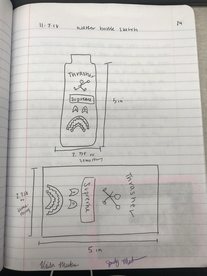
1) This is my sketch from my designer notebook where I came up with my idea.
|
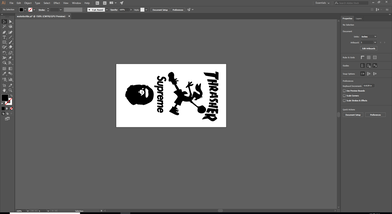
2) I inserted all of my vectors in Illustrator.
|
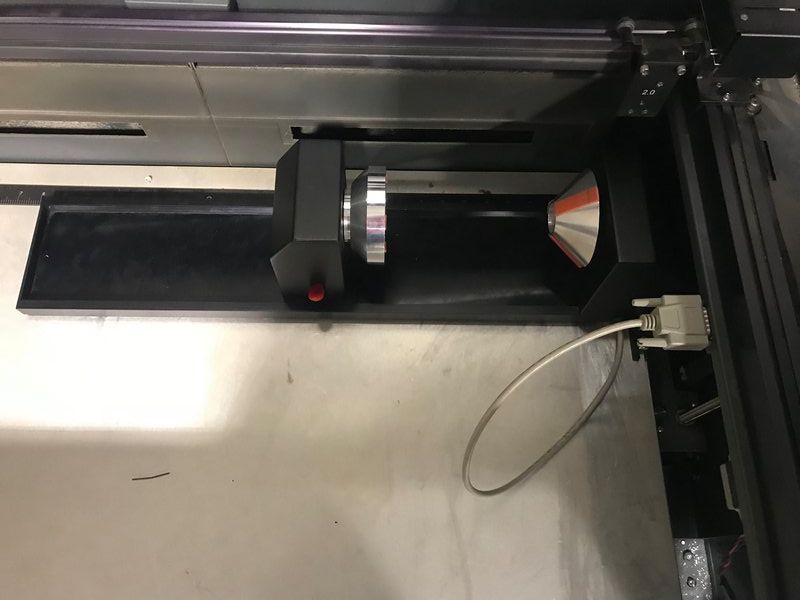
3) Instead of the laser bed, I had to insert/connect this piece.
|
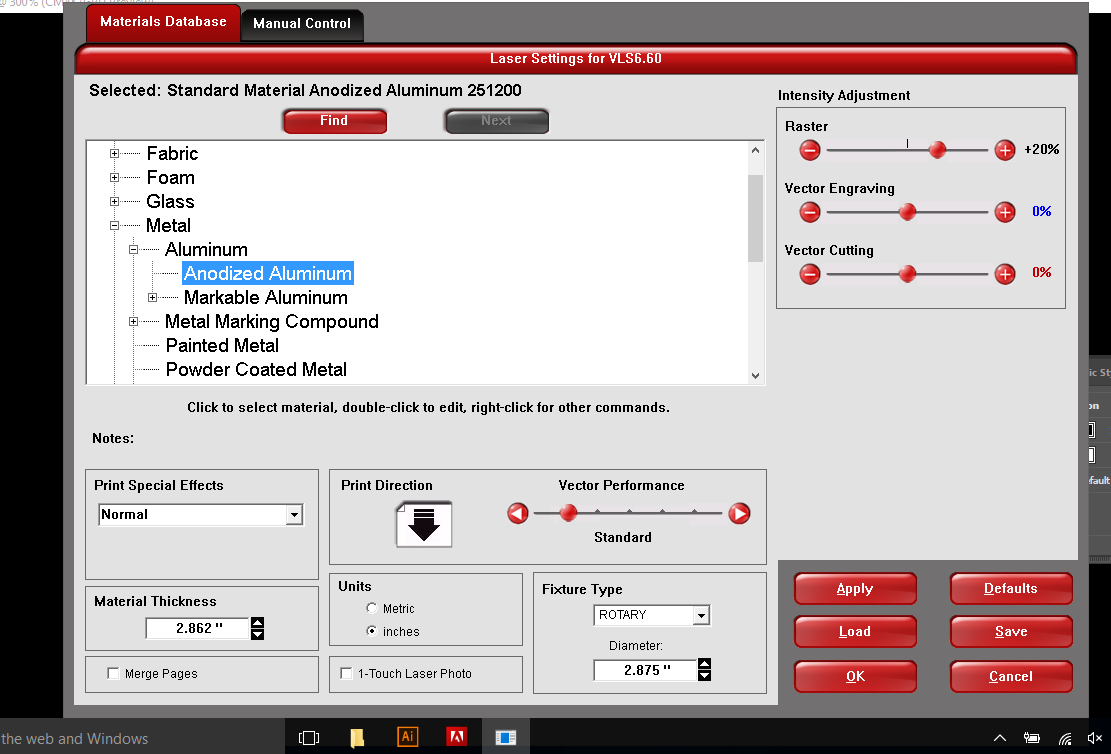
4) Select the right material in the UCP software.
|
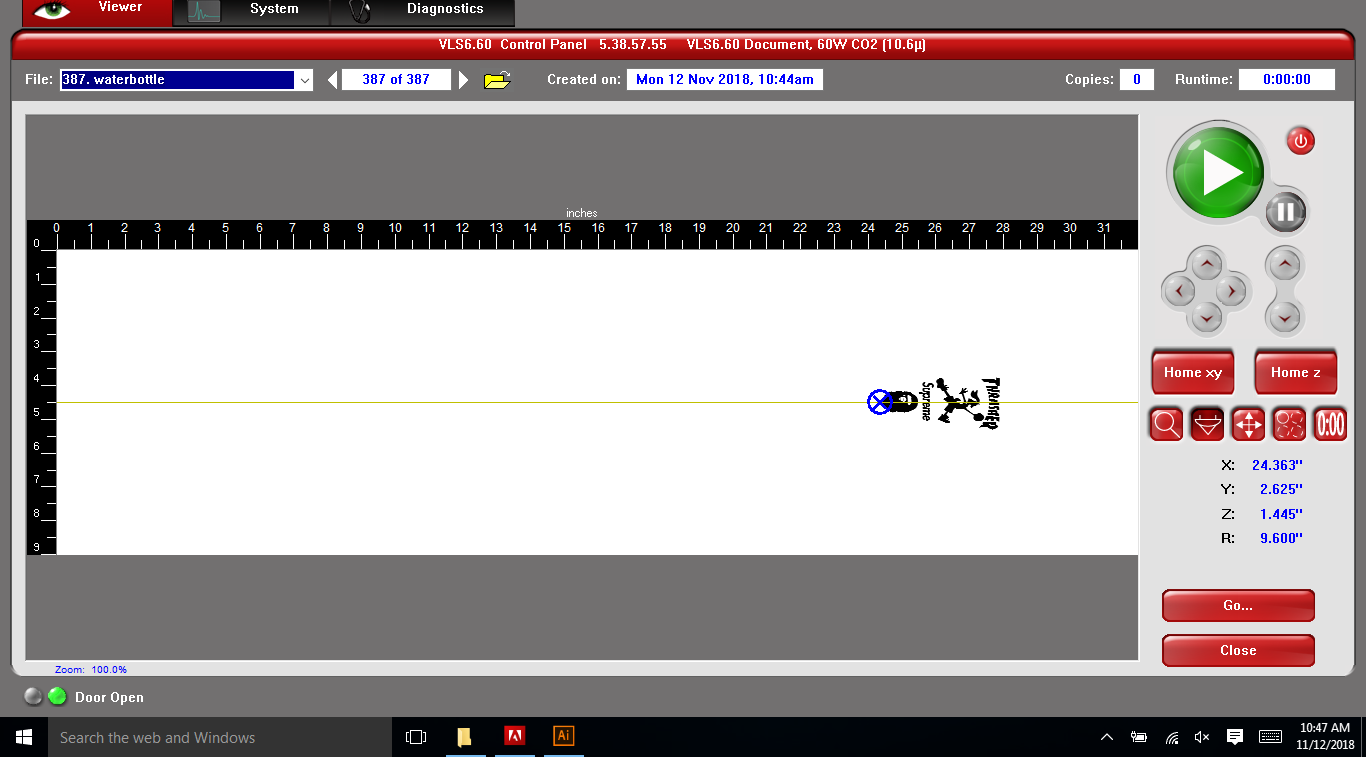
5) Before I engraved my design, I had to make sure it fit correctly.
|
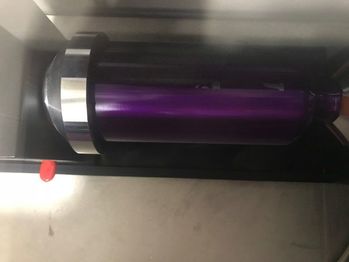
6) This was in the early stages of the engraving process.
|
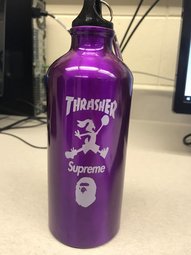
Final Product:
Final Thoughts:
I enjoyed this project a lot because I was able to try something new on the laser. I could also picked the design to engrave. If I could change one thing I would probably make the images larger to fill more space. I learned how to engrave rounded things, which can be helpful. Overall I'm happy with the turnout.
